Disclaimer: Some affiliate links are included in this post.
This is my second post on AI generated images on the first one which you can find here, I walked you through how to run Stable Diffusion on a Google Colab instance and that is cool and everything but I find it even cooler to run it on your own machine.
So today I will walk you through a very easy setup to run Stable Diffusion locally.
Before we start we will need a few things, specially a video card with at least 8GB or more. I know we can find guides showing how to run it on even a 4GB card but I can only speak about my experience doing the whole thing so here we go.
I had 4GB Radeon video card which back then(a few week ago) was not even supported so I upgraded my desktop’s video card, here are my specs.
AMD Ryzen 5 3600
Motherboard Asus TUF GAMING X570-PLUS (WI-FI)
32GB ram
500GB SSD
MSI Gaming GeForce RTX 3060 12GB check it out here
Make sure you have at least 60GB of free space because it is going to fill up quick.
Let’s go.
1 – create and account at HugginFace and then download Stable Diffusion model from here click on the “Files and versions” tab and download the v1-5-pruned.ckpt 7.7GB, version 2 is available but I find that 1.5, version 2.0 is out but my setup works fine with 1.5, will wait for a faster version of 2.0 which apparently is coming. so 1.5 for now would do.
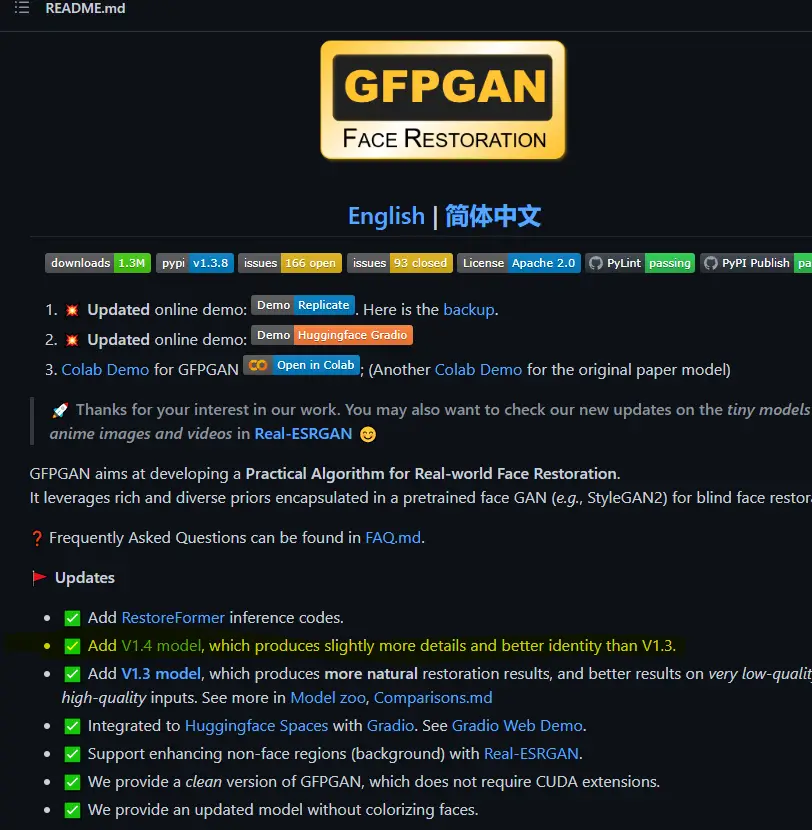
2 – Download CGPGAN which will help when creating people images to make it look less weird, also helps with upscaling, you get that at GFPGAN repo scroll down and get V1.4 model.
3 – Download GitHub desktop and install it.
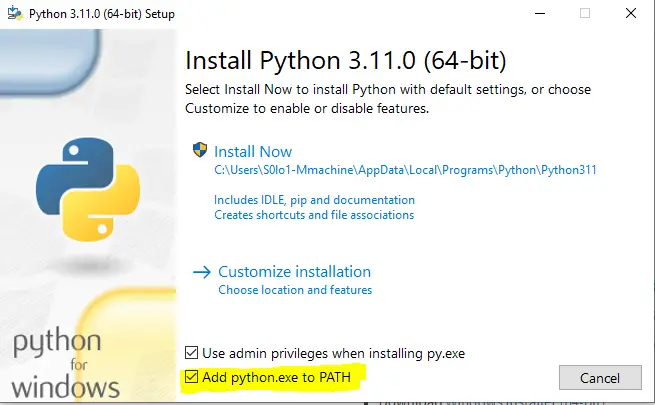
4 – Download “Python Windows installer” from here look up your windows version most likely is 64-bit under “Stable Releases”, when installing make sure the “Add python.exe to PATH” is selected.
5 – With Github Desktop and Python installed now we need the User Interface, go to the GitHub repo of stable-diffusion-webui here
click on the green button “ <>code” and select “Open with “GitHub Desktop”, you will get a confirmation box from the browser to open GitHub Desktop.
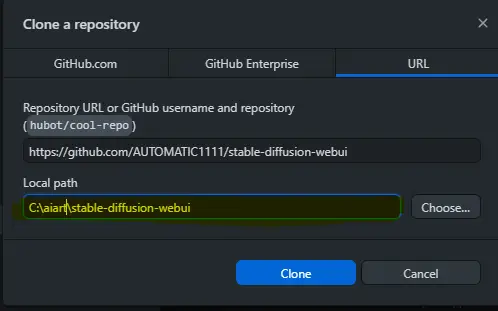
6 – GitHub desktop will open and it will ask you where you want to clone the repository.
I created a folder called “aiart” in my C drive and used that on “Local Path” field.
7 – Once you have cloned the repo go to c:\aiart\stable-diffusion-webui, you will have a bunch of files and folders in there.

8 – go into “modesl\Stable-diffusion” and paste the v1-5-pruned.ckpt file you previously downloaded, here is where you will put any other model you want to play with such as 2.0, anything-v3, f222 etc, if you don’t know what those are, check them out they really generate amazing stuff.
Copy the CFGPAN1.4 model file you downloaded it and paste it on the repo folder in my case. c:\aiart\stable-diffusion.
9 – Inside the c:\aiart\stable-diffusion double click on webui-user windows Batch File, this will launch the command prompt and will start the installation, it will take some time if you don’t see anything happening click on the black screen and press the spacebar.
Once installation is done you will see something like this.

On your browser go that that URL and that is it, you will get the UI to write your prompts and a bunch of other things.
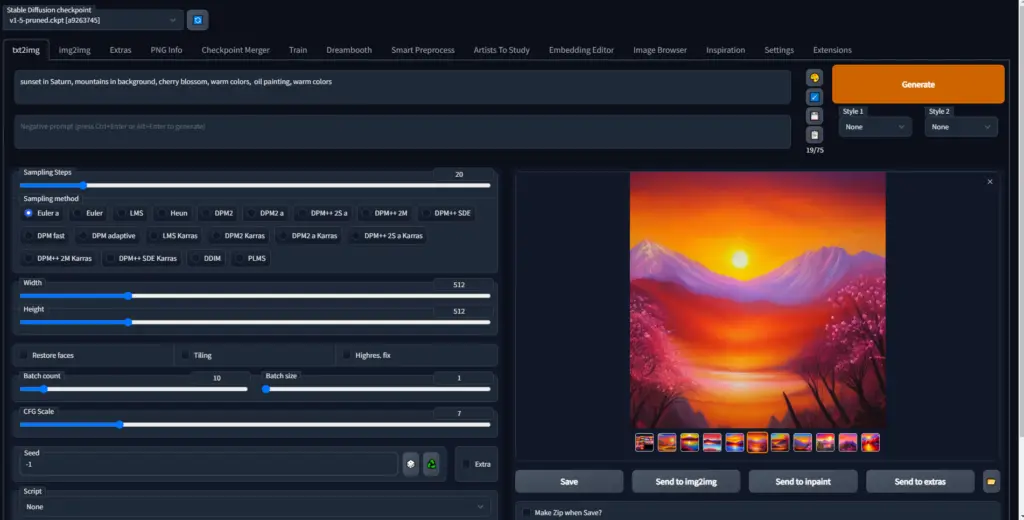
I invite you to explore your creativity like never before and see what come out of it, this is a really powerful tool that can enhance your skills if you are already an artists or it can just be a nice hobby.
If you run into problems drop me a line below I will do my best to help.
You can get help also at the Stable diffusion reedit here a lot of nice stuff in there.


