In part 1 we review 2 ways of taking screenshots in Windows 10, let me show you one more way which is even easier and has all the bells and whistles of the other 2 ways.
1 – Press and hold “Shift + Windows key + s”
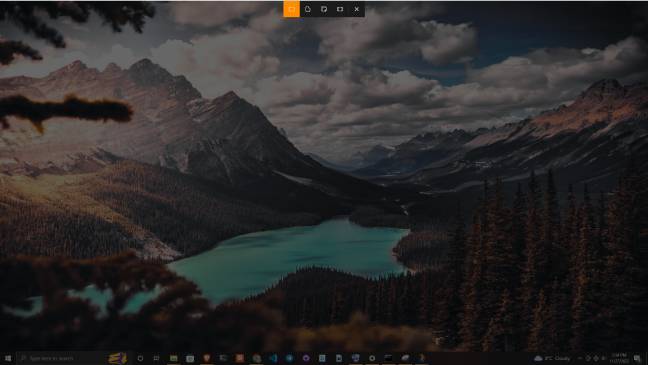
2 – this will dim your screen, your cursor will change to a cross and a bar with buttons with slide from the top, this is the snip and sketch tool from windows.

3 – Select the type of screen shot you want and then the area you would like to capture.
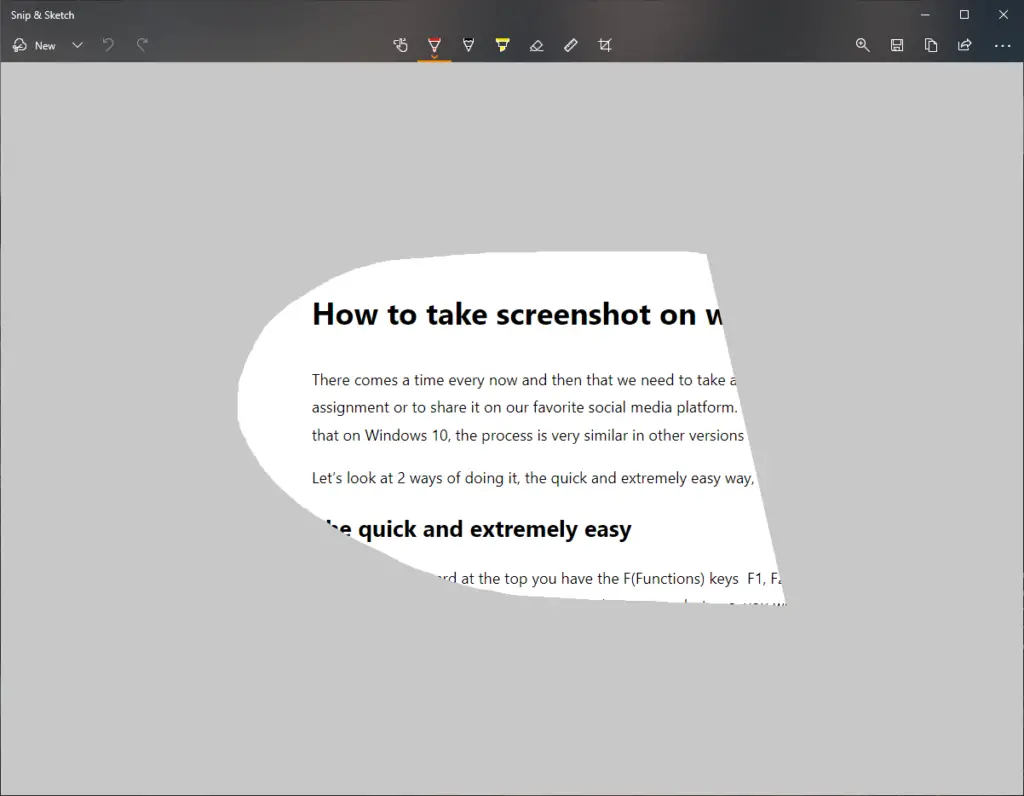
4 – A pop up on the bottom right will show up, click on it and it will open the Snip & Sketch application, where you have a few tools at your disposal, once you are done with your image you can copy to paste it where you need it or you can save it to your computer for later use.

Andddd you are done!
This is a very handy tool that can save you tons of time when you learn how to use it properly specially the shortcut. remember “Shift + Windows key + s”.


