There comes a time every now and then that we need to take a screenshot to add it on a current assignment or to share it on our favorite social media platform. Today we are going to learn how to do that on Windows 10, the process is very similar in other versions of windows.
Let’s look at 2 ways of doing it, the quick and extremely easy way, and then the Quick and easy way.
The quick and extremely easy
1 – On your keyboard at the top you have the F(Functions) keys F1, F2… F12, on the right side after F12 there is a “PrtScn” key, press it and it will take a screenshot , no, you will not see anything happening this is like magic. 🧙♂️
2 – Go to the window where you want to paste the image, could be a document, Facebook, Twitter post, window where a email is being written, even in a chat box, right click and select “Paste” or press “Ctrl + v”, Voila!
Mission accomplish.
Little trick, let’s say you don’t want the whole screen, specially if you have more than 1 monitor.
Make sure the windows you want to capture is open and is the last thing you clicked on, press and hold “Alt” key and then press “PrtScn” key.
Paste the screenshot where you want by right click and selecting “Paste” or pressing “Ctrl + v” done.
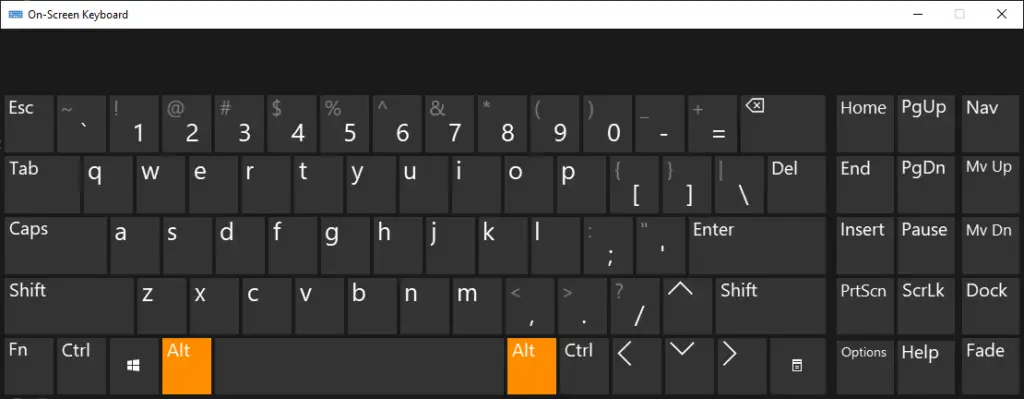
“But my keyboard has not “PrtScn” key, no worries there is a solution to this, actually there are a few but let’s just look at one to keep this simple.
Down on the task bar press on the little magnifying glass icon to search, type “on-screen keyboard”, click on it and it will open a window with a keyboard that has the “PrtScn” key, you should be able to do the steps above.

The quick and easy way
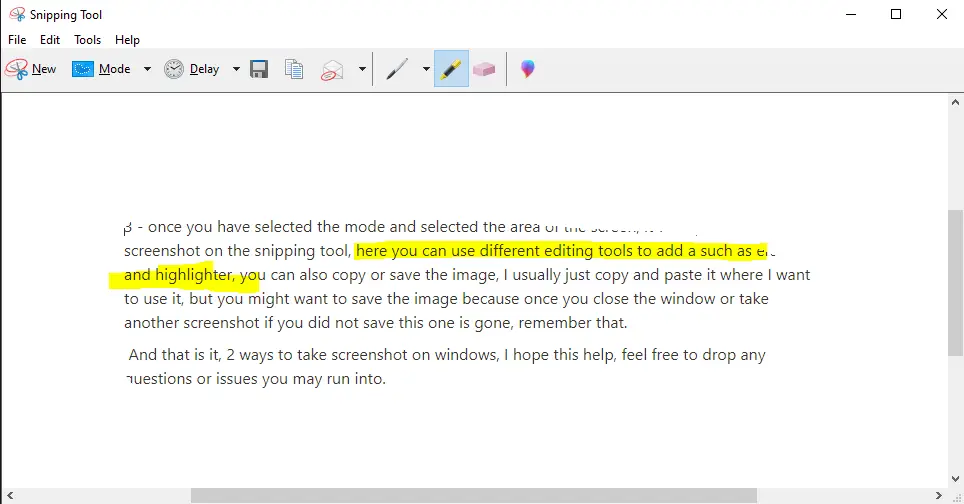
This way you have more flexibility, for instance you can select specific areas of the screen, take the shot and then highlight specific part of the screenshot using a highlighter tool, I will show you the basic then you can experiment from there.
1 – Click on the search icon at the bottom and type “snipping tool”.
2 – On the snipping tool select “New”, by the right of that button you have the “Mode” button, with gives you different modes of screenshot you can take, try them all and see which one get you what you need.

3 – once you have selected the mode and selected the area of the screen, it will open the screenshot on the snipping tool, here you can use different editing tools to add a such as eraser and highlighter, you can also copy or save the image, I usually just copy and paste it where I want to use it, but you might want to save the image because once you close the window or take another screenshot if you did not save this one is gone, remember that.

And that is it, 2 easy ways to take screenshot on windows, I hope this help, feel free to drop any questions or issues you may run into.


